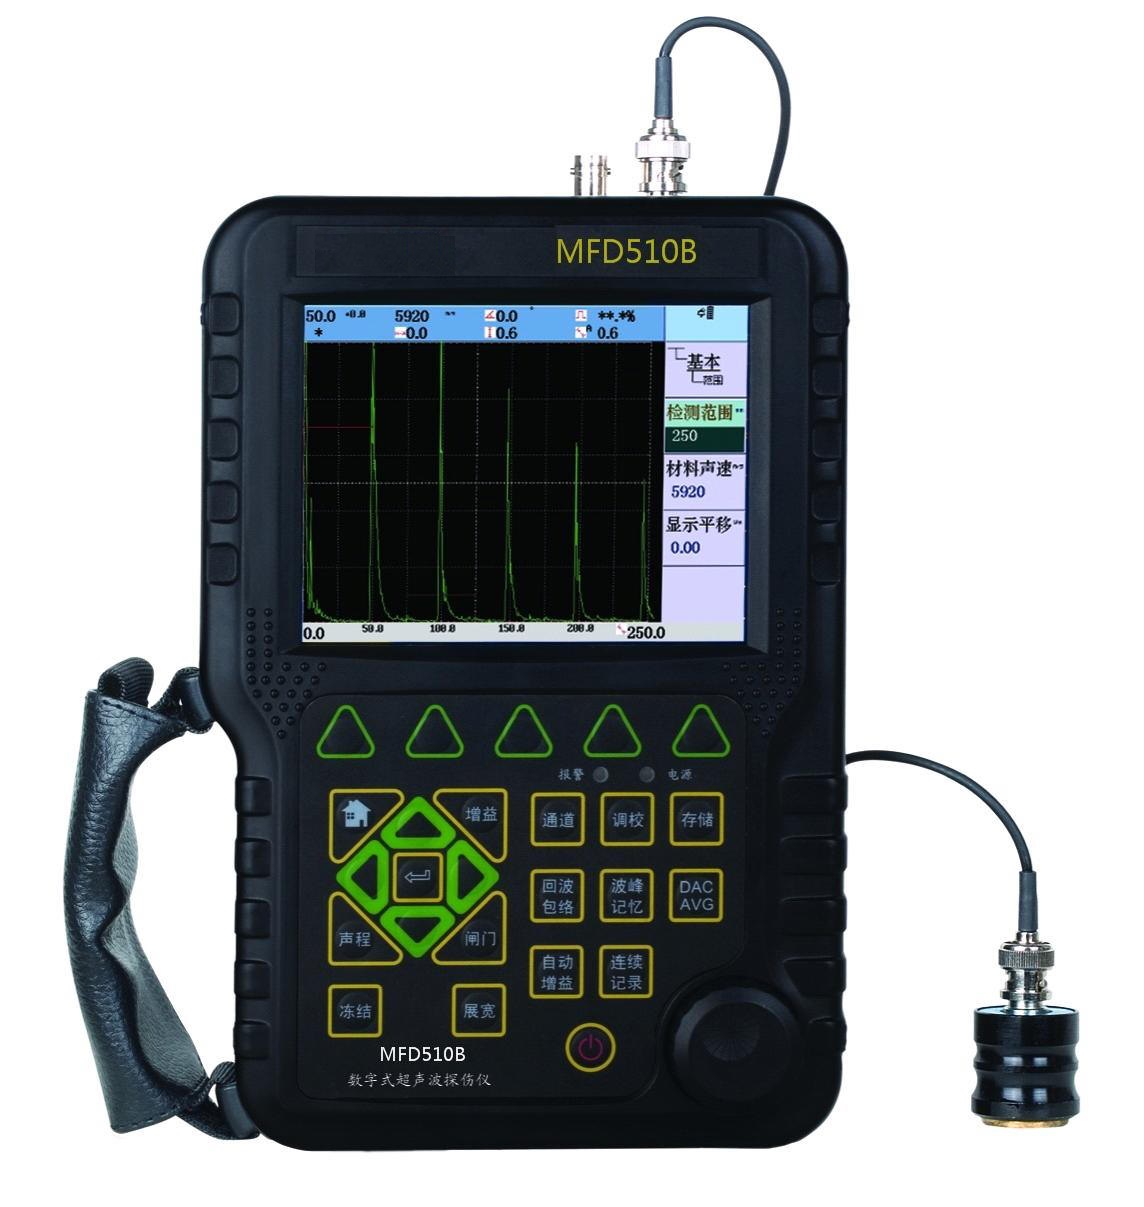
 Portable ultrasonic flaw detector
mfd510b Portable ultrasonic flaw detector
mfd510b
Overview
Mfd510b
portable ultrasonic flaw detector can test, orient, evaluate and
diagnose various flaws such as
unmelted weld joint, unpenetrated weld joint, crack, inclusion, air hole
in worklpiece’s interior swiftly and accurately without any destruction.
It is widely used in fields of power
engineering , boiler pressure vessel ,
steel construction , war industry ,
aeronautics , rail transportation ,auto and
machinery
etc. It is the essential instrument in ndt industry.
Key features
With chinese display, master-slave menu, shortcut key and
digital swiftly knob, it’s designed with leading technology and can be
used very conveniently.
With high brightness el lcd display, it’s suitable to
work under outside strong light. And the lcd brightness can be set
freely by yourself according to the environment.
Designed with high performance
security-guarantee battery module, it’s easy for disassembly and
assembly. And it can charge independent with offline. And the large
capacity and high performance lithium-ion battery module make the
instrument’ continously working time to above 8 hours,
With small size and light weight, the instrument can be
hold by one hand. It’s durable in use and lead industry trend.
range
0~ 9999mm
(at steel velocity); range selectable in fixed steps or continuously
variable.
Pulser
Spike excitation with low, middle and high choices of the
pulse energy.
Pulse repetition rate: manually adjustable from 10 to
1000 hz.
Pulse width: adjustable in a certain range to match
different probes.
Damping: 100ω, 200ω, 400ω selectable
to meet different resolution and sensitivity need.
Probe work mode: single element, dual
element and through
transmission;
Receiver
real-time sampling at 160mhz high speed enough to record the defect
information.
Rectification: positive half wave,
negative halfwave, full wave, and rf
Db step: 0db, 0.1 db, 2db, 6db step value as well as
auto-gain mode
Alarm
alarm with sound and light,.
Mermory
Total 100 configuration channels store all instrument
operating parameters plus dac/avg curve; stored configuration data can
be easily previewed and recalled for quick, repeatable instrument setup.
Total 1000 datasets store all instrument operating parameters plus
a-scan. All the configuration channels and datasets can be transferred
to pc via usb port.
functions
peak hold:
Automatically searching the peak wave inside the gate and hold it on the
display.
Equivalent diameter calculation: find out the peak echo
and calculate its equivalent diameter.
Continuous record: record the display continuously and
save it to the memory inside the instrument.
Defect localization: localize the defect position,
including the distance, the depth and its plane projection distance.
Defect sizing: calculate the defect size
Defect evaluation: evaluate the defect by echo envelope.
Dac: distance amplitude correction
Avg: distance gain size curve function
Crack measure: measure and calculate the crack depth
B-scan: display the cross-section of the test block.
real-time clock
real time clock for tracking the time.
Communication
usb2.0 high-speed communication port
specifications
range: (0 ~ 9999) mm
bandwidth: (0.5 ~ 15) mhz
material velocity: (1000 ~ 9999) m / s
dynamic range:
≥ 32db
vertical linear error:
≤ 3%
horizontal linear error:
≤ 0.2%
resolution:> 40db (5p14)
sensitivity leavings: 60db (flat-bottomed deep hole 200mmф2)
rejection: (0 to 80)% linear
noise level:
≤ 10%
power supply: dc 9v; lithium batteries work for 8 hours or more
ambient temperature: (-20 ~ 50)
℃
relative humidity: (20 ~ 95)% rh
overall dimensions: 263 × 170 × 61 (mm)
Mfd510b
standard configuration
|
No. |
Item |
Quantity
|
|
1 |
Main body |
1 |
|
2 |
Straight beam probe
|
1 |
|
3 |
Angle probe
|
1 |
|
4 |
Machine-probe cable
(q9-q9) |
1 |
|
5 |
Battery module |
1 |
|
6 |
Power adapter (charger) |
1 |
|
7 |
Support pillar |
1 |
|
8 |
Manual |
1 |
|
9 |
Instrument case |
1 |
|
10 |
Datapro software
|
1 |
|
11 |
Usb communication cable |
1 |
|

